How to Apply Custom DTF Transfers Using a Heat Press: A Step-by-Step Guide
Custom DTF (Direct to Film) transfers are a fantastic way to create vibrant, durable designs on a wide range of fabrics. If you're new to DTF or just need a refresher, this guide will walk you through the process of using a heat press to apply your custom DTF transfers with professional results.
What You’ll Need:
- Heat Press Machine: A reliable heat press machine is crucial for applying DTF transfers.
- Custom DTF Transfer: Your design printed on a DTF film, ready to be transferred.
- Garment: The fabric you want to apply the design to (e.g., t-shirts, hoodies, bags).
- Parchment Paper or Teflon Sheet: Used to protect your design and garment during the pressing process.
- Lint Roller: To remove any debris or lint from the garment.
- Heat-resistant Tape (optional): To hold the transfer in place, if needed.
Step 1: Prepare Your Workstation
Before you begin, make sure your workstation is set up and organized. Place your heat press on a stable, heat-resistant surface, and ensure there’s enough space to maneuver your garment and transfer.
Step 2: Preheat the Heat Press
Turn on your heat press and set it to the appropriate temperature and pressure settings for DTF transfers. Generally, DTF transfers are applied at a temperature of 315°F (160°C) with medium to firm pressure.
Step 3: Prepare the Garment
Lay your garment flat on the heat press’ lower platen. Use a lint roller to remove any lint, dust, or debris from the surface of the fabric. This ensures a clean and smooth application.
Step 4: Position the DTF Transfer
Place the DTF transfer face down (the printed side touching the fabric) onto the desired area of your garment. Make sure the design is centered and positioned correctly. If necessary, use heat-resistant tape to hold the transfer in place.
Step 5: Pre-press the Garment (Optional)
For certain fabrics, it’s a good idea to pre-press the garment for about 5 seconds before applying the transfer. This step helps to remove any moisture and smooths out the fabric, ensuring a better bond between the transfer and the garment.
Step 6: Apply the DTF Transfer
Carefully lower the heat press onto the garment and DTF transfer. Press down with firm, even pressure for 15 seconds.
Step 7: Remove the Transfer Film
Once the pressing time is up, lift the heat press and wait 10 seconds before peeling. Peel slowly and evenly from one corner of the transfer to avoid lifting any part of the design.
Step 8: Post-press (Optional)
To ensure the design is fully adhered and has a smooth finish, you can perform a post-press. Place a sheet of parchment paper or a Teflon sheet over the design and press again for another 15 seconds.
Step 9: Inspect and Cool
Inspect your garment to ensure the design has adhered properly and there are no issues. Let the garment cool completely before folding, packing, or wearing it.
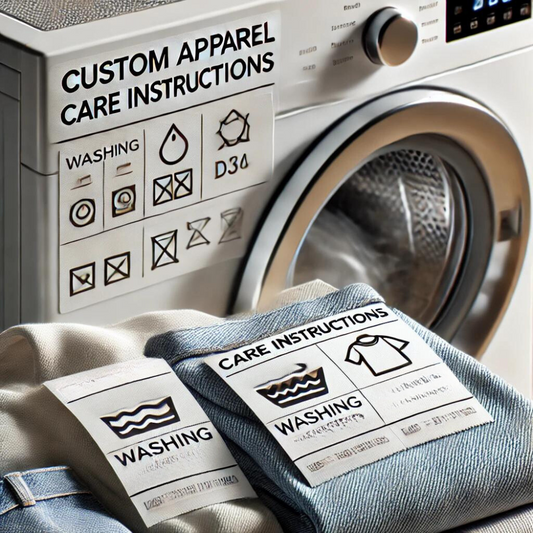
Step 10: Care Instructions
After applying the DTF transfer, make sure to provide care instructions for the garment. Generally, it’s recommended to wash the garment inside out in cold water and to avoid high heat in the dryer to prolong the life of the transfer.
Final Thoughts
Applying custom DTF transfers using a heat press is a straightforward process that can yield professional results with a bit of practice. By following these steps carefully, you’ll be able to create custom apparel with vibrant, durable designs that stand out.
Whether you're working on a personal project or fulfilling customer orders, mastering the DTF transfer process will open up endless creative possibilities. Happy pressing!